Introduction:
Welcome to our blog, where we’ll guide you through the steps of cleaning your laptop to ensure it stays in top-notch condition. A clean laptop not only looks better but also performs more efficiently. Follow these simple steps to give your device the care it deserves without the worry of damaging it.
Step 1: Gather Your Cleaning Supplies Before diving into the cleaning process, gather the necessary supplies. You’ll need:
Microfiber cloth
Isopropyl alcohol (at least 70% concentration)
Compressed air canister
Cotton swabs
Distilled water
Soft-bristle brush
Make sure your laptop is powered off and unplugged before starting the cleaning process.
Step 2: Exterior Cleaning Start by wiping down the exterior surfaces of your laptop using a microfiber cloth. Dampen the cloth slightly with a mixture of isopropyl alcohol and distilled water (1:1 ratio) for stubborn stains. Avoid using harsh chemicals or abrasive materials to prevent damage to the laptop’s finish.
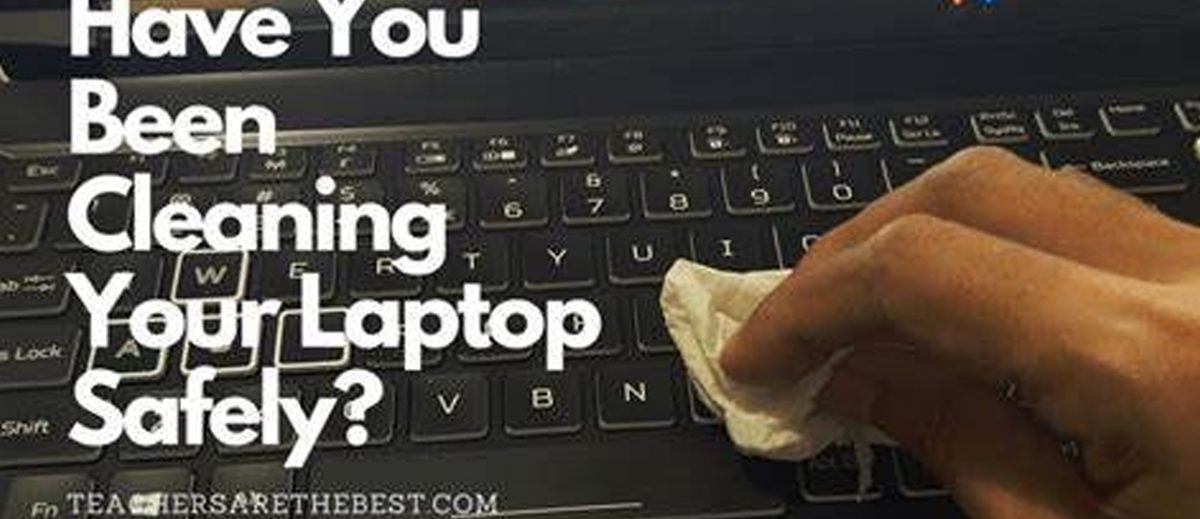
Step 3: Keyboard Cleaning The keyboard is a notorious haven for dust and debris. Use a can of compressed air to blow away loose particles from between the keys. For more stubborn grime, gently use a soft-bristle brush or a cotton swab dipped in isopropyl alcohol. Ensure the laptop is turned off to prevent accidental key presses.
Step 4: Screen Cleaning Clean the laptop screen with a microfiber cloth. If there are smudges or fingerprints, dampen the cloth with a small amount of distilled water and gently wipe the screen. Avoid using excessive pressure or harsh cleaning solutions, as these can damage the display.
Step 5: Ventilation and Ports Use compressed air to clean the ventilation areas and ports. This helps maintain proper airflow and prevents the laptop from overheating. Hold the fan blades in place with a toothpick to avoid damaging them with the air pressure.
Step 6: Battery and Additional Considerations If your laptop has a removable battery, consider removing it before cleaning. However, many modern laptops have non-removable batteries, so exercise caution and consult your device’s manual. Additionally, check for any specific cleaning instructions provided by the laptop manufacturer.
Conclusion:
Congratulations! You’ve successfully given your laptop a thorough cleaning. Regular maintenance like this not only keeps your device looking pristine but also contributes to its overall longevity and performance. Remember to perform these cleaning steps periodically to ensure your laptop stays in top shape for years to come.